Star Wars Zero Company Hidden Details: ILM Models, Weapon AP Economy, and Lore Discoveries
Discover the latest community findings in Star Wars Zero Company, from insanely dense ILM ship models and advanced AP strategies to endgame narrative details.
It has been over a month since Star Wars Zero Company launched on PC, PlayStation 5, and Xbox Series X|S, and the tactical strategy community shows no signs of slowing down. While the initial wave of reviews focused heavily on the game’s brutal difficulty and ambitious 40-hour campaign, veteran players have now spent hundreds of hours dissecting Bit Reactor’s intricate systems.
Beyond the headlines of the developer’s recent staff recalls, data-miners and hardcore tacticians are uncovering fascinating details tucked away in the game’s code, mechanics, and narrative framing. From the surprising origins of the game’s visual assets to the rigorous math dictating the action point (AP) economy, the community is building a far more nuanced understanding of how to manage Hawks and the operatives of Zero Company.
Here is a breakdown of the most significant community discoveries circulating this week, highlighting the hidden depth that keeps tacticians returning to the Den.
The Visual Cost of Cinematic Fidelity: ILM Models Uncovered
Zero Company is widely praised for bringing a cinematic, gritty aesthetic to the traditionally abstract turn-based tactics genre. However, community members examining the game files have discovered exactly how Bit Reactor achieved this visual leap—and it involves an unusual development pipeline.
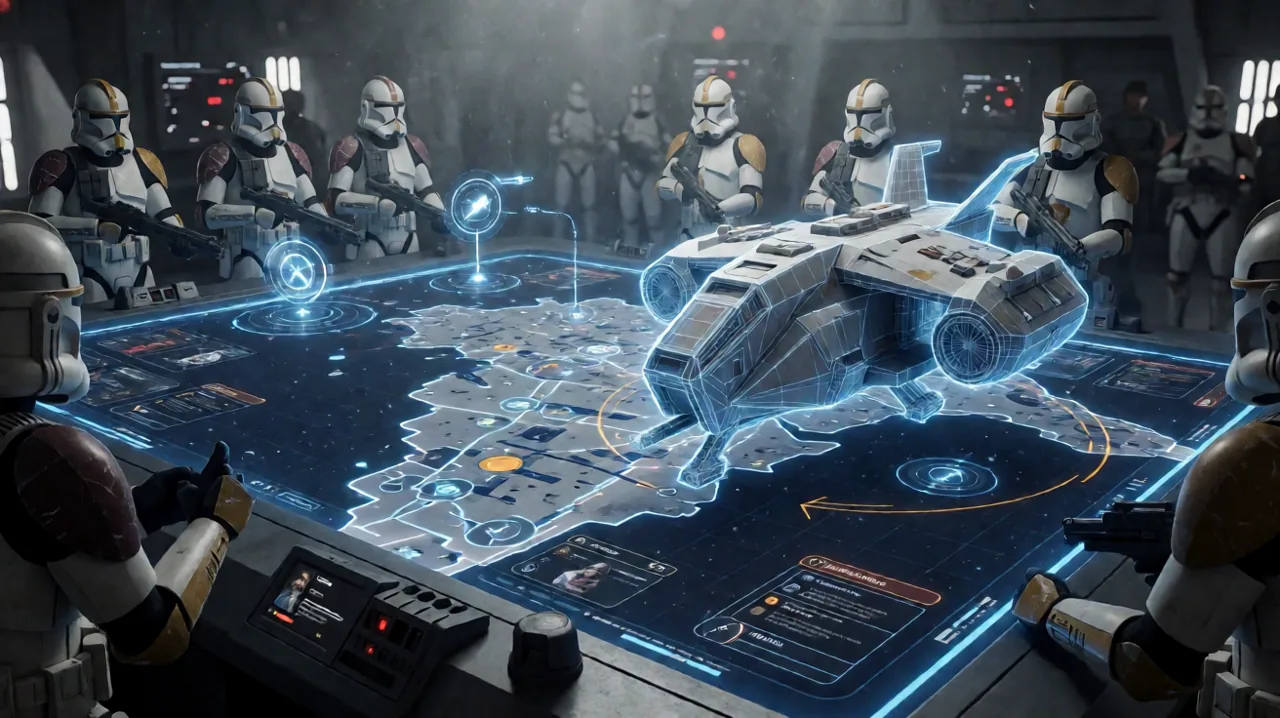
Users over on the ship-focused forums pulled the mesh data for several in-game vehicles, most notably the Sheathipede-class transport shuttles frequently seen during planetary insertions. They discovered that these assets possess an “insane mesh density,” far exceeding the polygon counts typically used for background props in isometric strategy games. The prevailing theory is that thanks to their partnership with Lucasfilm Games, Bit Reactor was granted access to actual Industrial Light & Magic (ILM) high-resolution models, and chose to integrate them with minimal downscaling to preserve their on-screen presence.
While this results in stunning dioramas during the tactical combat phases, it also explains a recurring critique regarding the game’s optimization. A recent French community review highlighted that while the tactical layers run flawlessly, the game suffers from occasional technical hiccups and stuttering during the “surface exploration phases”—segments where the camera pulls in closer to the environments.
Rendering these intensely detailed ILM-grade meshes in real-time exploration heavily taxes both PC setups and current-generation consoles. If you find your frame rates dropping during these exploration segments, it might be worth consulting our System Requirements guide to adjust your texture streaming and mesh quality settings without compromising the core tactical experience.
Deconstructing the Weapon AP Economy
At launch, we knew that Zero Company evolved the standard genre formula by implementing a flexible 3-AP (Action Point) system. However, Latin American community veterans have recently compiled a definitive breakdown of exactly how different weapon types interact with this economy, revealing a layer of depth that heavily dictates Best Squad Composition.
The game moves away from a fixed fire-rate system in favor of granular AP expenditure, drastically altering how you position your operatives across battlefields like Christophsis and Felucia:
- Pistols (1 AP per shot): Often dismissed early in the campaign due to their low base damage, pistols are actually the most flexible weapons in the game. An operative can fire a pistol up to three times in a single turn (spending all 3 AP), allowing them to distribute damage across multiple low-health targets. They are exceptional tools for breaking enemy overwatch without committing a heavier unit to the task.
- Rifles (1-2 AP per shot): The standard issue for most mid-range classes. They offer a reliable balance of medium damage and AP efficiency, allowing operatives to move into full cover (1 AP) and still fire a highly accurate shot (2 AP).
- Repeaters / Heavy Weapons (Variable AP): This is where the mechanics get highly specialized. Repeaters consume all remaining AP when fired, and their damage scales exponentially based on the points spent. Moving a heavy gunner cuts their damage output significantly. To maximize their potential, players must set them up in heavy cover on one turn, leaving them stationary on the next to unleash a devastating 3-AP barrage.
- Sniper Rifles (Fixed 2 AP): Offering the highest single-target damage in the game, snipers demand exactly 2 AP to fire a single round. This creates a rigid tactical limitation: a sniper can only move one tile (costing 1 AP) if they intend to fire in the same round. Proper high-ground positioning becomes critical, as forcing a sniper to relocate across the map effectively removes them from the damage pool for that turn.
Understanding this economy is vital for mastering the higher difficulties. For a deeper dive into how these weapons align with specific operative skills, check out our Combat Tactics Guide.
The Synergy of Bonds and the Weight of the Memorial Wall
While managing AP is crucial for moment-to-moment survival, managing your squad’s interpersonal relationships is the key to surviving the grueling campaign. The community has rigorously tested the game’s Bond system, confirming that it offers substantial mathematical advantages beyond narrative flavor.
As operatives deploy together and engage in conversations back at the Den, their Bond level increases. Testing confirms that high Bond levels directly impact “Support Plays”—situations where two operatives target the same enemy to trigger a combined attack. A maximum Bond significantly increases both the critical hit chance and the raw damage multiplier of these maneuvers, making paired operatives exponentially more lethal than solo fighters.
However, Bit Reactor balances this power with the brutal reality of the Clone Wars. The game utilizes a three-strike “wound” system. If an operative is downed three times across their career, they are permanently killed. How Permadeath Works in Zero Company is unforgiving; when a high-level, heavily bonded operative dies, you lose both their skill tree progression and the synergistic damage bonuses they provided to their partner.
Their permanent loss is marked on the Memorial Wall inside the Den. Players report that losing a bonded operative late in the campaign can completely stall momentum, forcing commanders to spend valuable credits and cycles training raw recruits to fill the tactical void.
Lore Spotlight: The Shadow Plague and the Fall of the Infinite Coil
(Warning: The following section contains major story spoilers for the ending of Star Wars Zero Company).
Narrative discussions have also peaked this week, particularly surrounding the game’s climax and how it handles classic franchise tropes. Throughout the 40-hour campaign, players are hunted by Kundri Fathom, the enigmatic antagonist who utilizes a localized phenomenon known as the Shadow Plague to manipulate and control the sprawling mercenary army known as the Infinite Coil.
Community members on narrative forums have drawn fascinating parallels between the game’s finale and the conclusion of The Phantom Menace. When Hawks and Zero Company finally defeat Fathom in the late game, the Shadow Plague’s psychic and biological hold over the Infinite Coil is instantly dispelled. Without her influence, the vast majority of the enemy forces immediately lay down their arms, effectively ending the conflict in a single, decisive stroke.
While it mirrors the deactivation of the Trade Federation’s droid army when the Droid Control Ship was destroyed, Bit Reactor frames it through a much darker, psychological lens. The surviving members of the Infinite Coil aren’t mindless machines shutting down; they are exhausted, traumatized soldiers suddenly waking up from a forced fanaticism, left to decide their own fates in a rapidly changing galaxy. It is a poignant thematic note that fits perfectly into the era of the Clone Wars—a time defined by manipulated armies fighting orchestrated conflicts. For more on the narrative background of these factions, visit our Story and Setting overview.
What’s Next for Zero Company?
As players continue to dissect the combat formulas and explore the lore implications of the campaign, Star Wars Zero Company is proving to have the mechanical depth necessary to sustain a long-term tactical community. With Bit Reactor actively bringing developers back into the fold to support the game post-launch, we expect these community discoveries to be just the beginning.
Whether you are optimizing your sniper positioning or admiring the ILM-crafted details on a crashed transport, the battlefield continues to evolve. Stay tuned to the wiki as we update our Zero Company Class Tier List and tactical breakdowns based on these latest mechanical revelations.