Star Wars Zero Company Late-Game Guide: Cly Kullervo Scout Build and Beating Typhon
Master the late-game of Star Wars Zero Company with the ultimate Cly Kullervo Scout build, tactics for the punishing Typhon boss fight, and Pyke missions.
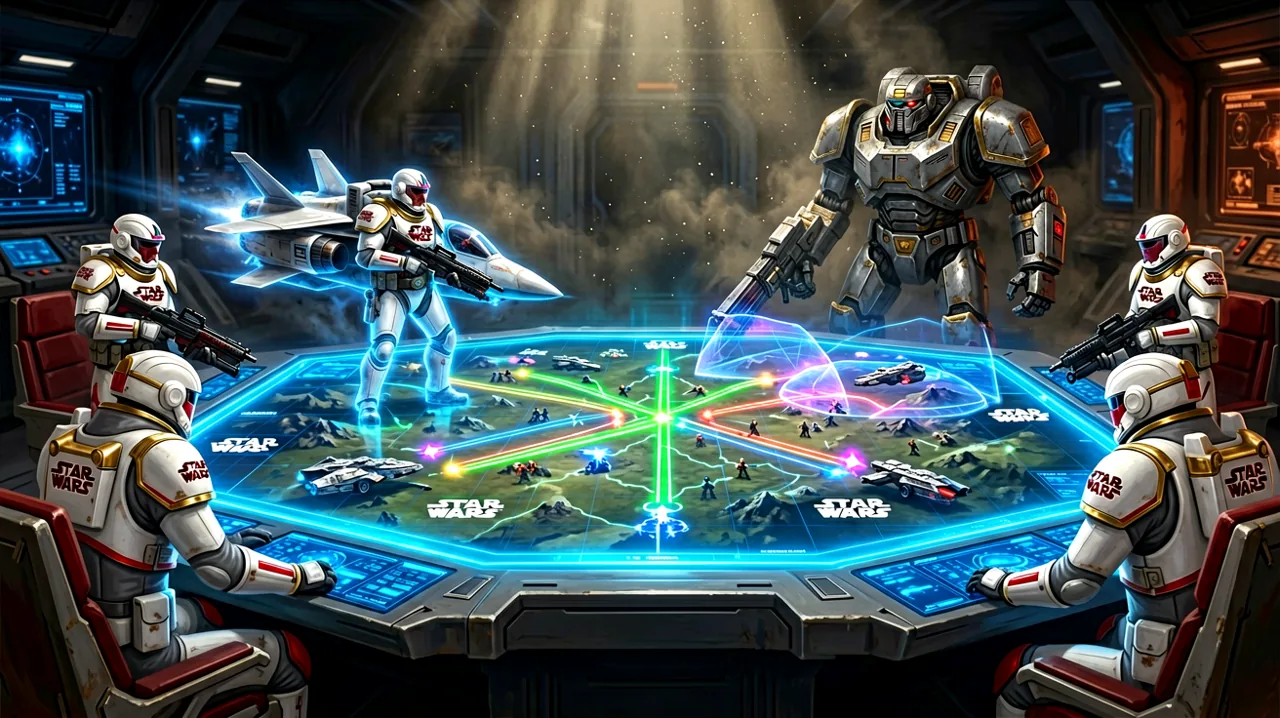
Bit Reactor’s turn-based tactical RPG has been in players’ hands for just over two weeks, and strategy veterans are finally breaching the grueling late-game stages of the 30-40 hour campaign. As your customized squad under the leadership of Commander Hawks secures more territory against Kundri Fathom and her elusive hostile faction, The Coil, the training wheels completely come off. The margin for error on the battlefield shrinks drastically, and maximizing your squad’s overall synergy inside the Den becomes an absolute necessity if you want to survive operations across increasingly hostile planets in the year 20 BBY.
By the time you reach the final act of the game, you will face massive difficulty spikes, sprawling maps, and leadership encounters that test everything you have learned about cover, overwatch, and flanking. However, the community has already discovered brilliant methods to break the game’s economy in your favor. Furthermore, early pioneers clearing the final campaign missions have brought back crucial intelligence regarding what to expect from the ultimate boss fights, alongside a few warnings about lingering technical issues.
Whether you are preparing to deploy for operations like the “Liberate Luunata” mission or nervously optimizing your squad composition before tackling the leadership of The Coil, this briefing covers the essential tactics you need to dominate the late game. If you are still putting together your initial roster before heading into the final act, you might want to brush up on our best-squad-composition guide first.
The Ultimate Cly Kullervo Scout Build
One of the most thrilling aspects of the game is discovering how specific operatives can synergize with the class system to produce overwhelming results. Right now, the community is obsessing over one particular Mandalorian squadmate: Cly Kullervo. When properly optimized, Cly can reliably ascend to godhood, entirely wiping out enemy pods on turn one without needing backup from the rest of your operatives.
The secret to this build lies in mastering the game’s dual-resource system. Most offensive and utility moves require either Action Points (AP) or Advantage Points. Cly Kullervo is uniquely positioned to become an Advantage Point generator. To unlock her full potential, you must assign her the Scout secondary class in the Den. From there, focus your credits and training time on maxing out her Electrodart and Electroweb abilities.
In practice, her combat loop is devastatingly efficient. You initiate her turn by casting the Combat Scan ability, which immediately raises your Advantage Points pool. With a bloated pool of Advantage, you can freely distribute Electrodarts across multiple targets in your line of sight. Next, utilize her Mandalorian Jetpack to jump directly into the center of the enemy formation. This aggressive repositioning grants a massive flanking damage bonus while ignoring standard movement penalties.
Once positioned amidst the chaos, you trigger the maxed-out Electroweb to fry the entire group simultaneously. Because the web scales with the number of darted enemies, the resulting area-of-effect damage is usually enough to melt standard Coil infantry instantly. For any heavily armored stragglers left standing, you simply draw her pistol to finish them off. Securing a pistol elimination often refunds AP or generates additional Advantage, allowing you to rinse and repeat the process. On certain maps with clustered enemy spawns, Cly can systematically execute every hostile on the board before Commander Hawks even issues a second order. For more ideas on how to build out your team’s skill trees and explore secondary roles, check our all-classes-guide.
Breaking the Monotony: The Pyke Syndicate Missions
A common critique slowly surfacing among players who reach the 30-hour mark is a noticeable lack of enemy diversity. For the vast majority of the campaign, Zero Company maintains a strict neutral stance in the broader Clone Wars conflict, avoiding direct confrontation with the Galactic Republic. Instead, your primary antagonists are the forces of The Coil. Unfortunately, this means you spend dozens of hours fighting the same two standard enemy archetypes wearing identical armor variants.
However, the late game does offer a brief but memorable reprieve. You will eventually trigger at least two specific operations where your squad must face off against the Pyke Syndicate. The Pykes bring a welcome visual change to the battlefield, sporting distinct helmets and character models that break up the visual repetition of Coil troopers.
More importantly, fighting the Syndicate requires a slight tactical adjustment. While the Coil rely heavily on brute force and specific environmental upgrades (which you can actively track and counter through intel gathered in the Den), the Pykes tend to prioritize different engagement distances and overlapping overwatch fields. When you see the Pyke missions pop up on your galaxy map, take the opportunity to rotate your squad members and experiment with fresh tactics. It is a refreshing palette cleanser before you plunge into the grueling final string of narrative operations. For more on the various threats lurking in the galaxy, review our species-guide.
The Boss Gauntlet: Typhon vs. Kundri Fathom
The climax of the campaign features a series of high-stakes encounters against the leadership of The Coil. Naturally, players have been hoarding their best consumable items, strongest weapon attachments, and fully rested operatives for the final showdown against the main antagonist, Kundri Fathom. However, community reports confirm a surprising twist in the game’s difficulty curve: the fight immediately preceding Fathom is significantly harder.
Before you can reach Kundri Fathom, you must defeat Typhon, a high-ranking Coil enforcer who community theorists heavily speculate is actually Fathom’s son. Regardless of his lore implications, Typhon represents the single largest difficulty spike in the entire game. Even players progressing on the hardest difficulty settings report that Typhon demands absolute perfection. One misplaced overwatch cone or a failure to secure full cover against his attacks will easily result in permadeath for your favorite operatives.
The best strategy for the Typhon encounter is to abandon any conservative playstyles. Do not save your heavy ordnance. Burn your grenades, utilize your most expensive single-use items, and unleash Cly Kullervo’s full Advantage Point combos early in the fight to clear out Typhon’s reinforcements before they can overwhelm your flanks.
Conversely, the final confrontation with Kundri Fathom is remarkably straightforward. Players have expressed disappointment at how easily her mechanics can be dismantled once you understand her attack patterns. If your squad survives Typhon with their ranks intact, Fathom will feel like a victory lap rather than a desperate struggle for survival. Treat Typhon as the true final mechanical test of your tactical prowess, and budget your resources accordingly.
Navigating Late-Game Bugs and Technical Issues
Despite the incredible tactical depth on display, Bit Reactor’s ambitious title is still struggling with a lack of polish in certain areas. While the recent patches successfully squashed the infamous bug where point-blank 100% hit chances would randomly miss, the late-game experience remains bogged down by animation and camera glitches.
As your squad sizes grow and the sheer volume of enemies on screen increases during complex operations like Liberate Luunata, the game’s engine begins to strain. Players are frequently reporting issues with the cinematic action camera. When securing a critical flank or landing a finishing blow, the camera will occasionally detach and fly wildly out of the map boundaries, obscuring the action entirely. The multi-tiered verticality of the map design on planets like Luunata means that AP pathing must calculate line of sight across extremely complex geometry, which frequently breaks the automated camera angles.
More frustratingly, the calculation time for specific area-of-effect abilities seems to buckle under pressure. Throwing a standard fragmentation grenade into a densely packed group of enemies can sometimes cause the animation to hang, leaving the player staring at a frozen screen for two to three minutes before the explosion finally triggers and damage numbers appear. Until another major optimization patch drops, patience is required. If your game hangs during a grenade throw, resist the urge to force-close the application; it will eventually resolve the calculation and allow your turn to continue.
Preparing for the Future
The endgame of Star Wars Zero Company is a brilliant, if occasionally unpolished, tactical sandbox. The power fantasy of assembling a fully customized squad and watching highly trained operatives tear through enemy lines is unmatched in the current strategy landscape. Prepare your squad, respect the Typhon encounter, and lead Zero Company to victory. For further reading on base management, general mechanics, and ongoing post-launch support, consult our everything-we-know hub.