
Mastering The Den in Star Wars Zero Company: Credits, Intel, Zone Influence & Essential UI Tweaks
Optimize your Star Wars Zero Company campaign with our advanced guide to The Den. Learn how to manage Credits, Intel, Zone Influence, and crucial UI settings.
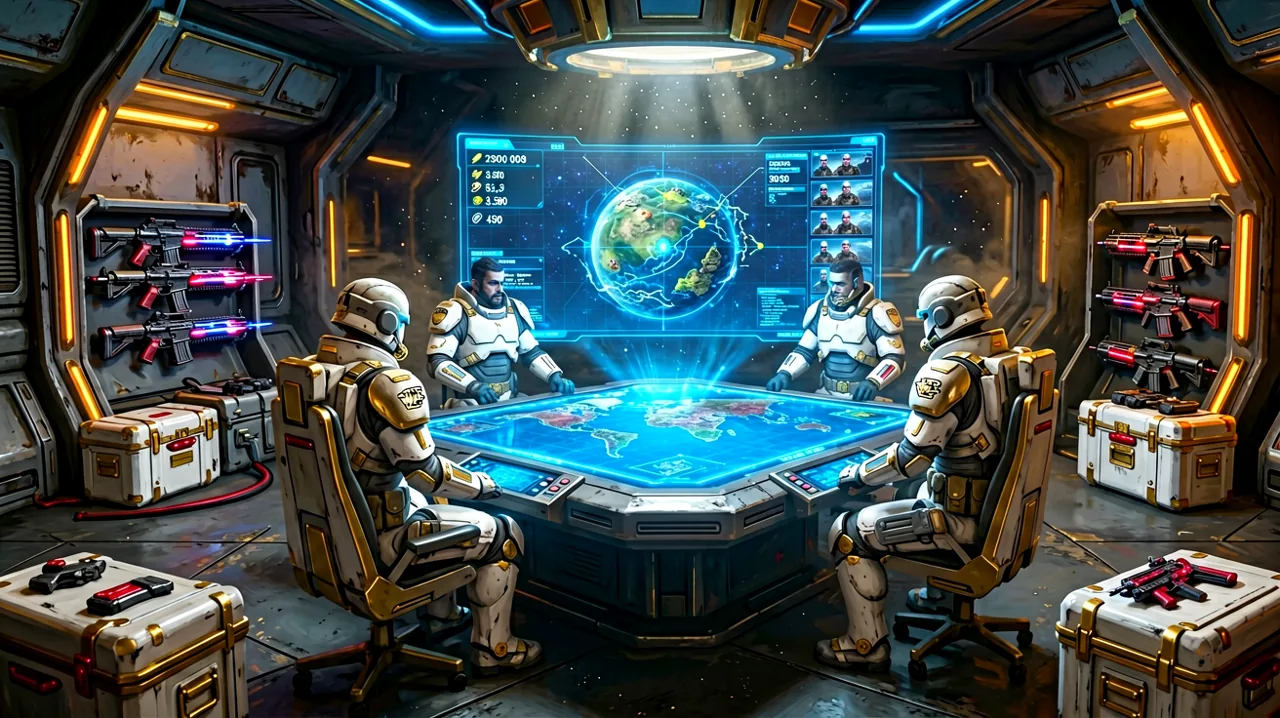
Star Wars Zero Company has officially taken the strategy gaming world by storm. After an explosive launch weekend that saw the title reach a staggering 74,834 concurrent players on Steam—shattering the previous franchise record held by Jedi Survivor—a massive wave of tacticians are now settling into the gritty, boots-on-the-ground reality of the Clone Wars. While the initial hours are filled with the thrill of recruiting your first operatives and surviving frantic firefights on the crystal surface of Christophsis, the mid-game introduces a daunting strategic layer. The combat is phenomenal, but campaigns are often won and lost before the dropship ever leaves The Den.
If you are transitioning from the opening act into the meat of the 40-hour campaign, you are likely realizing that managing your base, balancing your economy, and optimizing your squad’s UI are just as critical as landing a perfect flank on the battlefield. In this guide, we are breaking down everything you need to know about navigating the economic pressures of your headquarters, utilizing Intel, maximizing Zone Influence across the galaxy, and making a few crucial tweaks to your tactical setup.
Ditching the Radial Menu: A Necessary UI Tweak
Bit Reactor has done a commendable job designing an interface that works seamlessly across PC, PlayStation 5, and Xbox Series X|S. However, if you are playing on a mouse and keyboard, the default radial ability menu might feel a bit clunky during high-stakes encounters.
As highlighted by a recent PC Gamer PSA, players can dive into the accessibility and gameplay settings to swap the radial ability menu for a traditional linear hotbar. If you are a veteran of the genre, this classic experience is practically mandatory. A flat bar allows you to instantly parse your operatives’ available skills, cooldowns, and remaining Action Points (AP) without extra clicks. When you are trying to coordinate complex squad synergies—like having a scout strip enemy cover so your heavy gunner can secure a flanking critical hit—having all information clearly laid out on the bottom of the screen minimizes tactical errors. If you want a deeper look at how the interface and mechanics compare to genre giants, check out our zero-company-vs-xcom breakdown.
The Zero Company Economy: Credits and The Hutt Syndicate
War is expensive, and running an independent mercenary outfit during the Clone Wars is a financial nightmare. Credits serve as the primary lifeblood of your operation in The Den, but amassing a fortune is only half the battle. The real challenge is deciding how to spend it.
You will earn Credits by completing contracts, securing battlefield salvage, and extracting high-value targets. Upgrading your armory with longarm blasters, thermal detonators, and advanced tactical armor is always tempting. However, Hawks and his crew aren’t strictly operating on the Republic’s payroll. You owe debts to the Hutt Cartel.
The game introduces a brilliant layer of financial pressure: you must regularly allocate Credits to pay off your Hutt debts. If you ignore the syndicate to buy a shiny new repeating blaster for your frontline soldier, you will face severe consequences. The Hutts will eventually dispatch heavily armed bounty hunters to disrupt your operations, turning standard skirmishes against Separatist battle droids into chaotic, three-way firefights. Balancing your squad’s immediate lethal needs against your long-term financial survival is one of the most compelling aspects of the campaign. For players just starting out and struggling with early finances, reviewing our beginner-guide can save you from a rapid bankruptcy.
Intel and the Tactical Importance of Zone Influence
While Credits keep the lights on, Intel dictates where you go. Gathered through successful espionage actions and slicing terminals during combat, Intel is spent to unlock hidden priority missions, reveal enemy troop movements, and identify vulnerabilities in Kundri Fathom’s operations.
Spending Intel wisely ties directly into the Zone Influence system. The galaxy map is divided into various contested regions, spanning iconic Clone Wars planets like the fungal jungles of Felucia, the shadowed, hostile terrain of Umbara, and the red deserts of Geonosis.
Completing missions in a specific sector increases your Zone Influence there. High influence yields powerful passive rewards: you might receive a steady trickle of supplemental Intel, unlock region-specific operative recruits (like rugged Mandalorian mercenaries or seasoned clone deserters), or gain massive discounts on black-market gear. However, the system is designed to force hard choices. You cannot save everyone. Focusing your operations on Ryloth to secure Twi’lek resistance fighters means you will inevitably lose influence on Christophsis, allowing the Separatists or local syndicates to fortify their positions. You must align your Zone Influence strategy with the type of squad you are trying to build.
Expert Squad Building: Focus Points, Roles, and the Bacta Tank
On standard difficulties, a few tactical missteps are easily forgiven. But if you are tackling the Expert difficulty combined with Beskar Mode (the game’s punishing Ironman equivalent), optimal character building is mandatory.
Community theorycrafting has already revealed some incredibly potent setups. One popular strategy emerging from the Zero Company subreddit involves building Commander Hawks primarily as a centralized Medic. By equipping him with a standard blaster rifle and positioning him in the center of the tactical map, his area-of-effect heals and morale boosts can reach the entire squad, keeping the frontline intact under heavy fire. Pairing him with a dedicated marksman like Kabbie—armed with a sniper and built for target marking and relentless overwatch—creates a devastating zone of control that prevents enemies from pushing your flanks. To dive deeper into optimal team compositions, visit our best-squad-composition and all-classes-guide.
If you realize halfway through a campaign that your build is flawed, the game offers a lifeline: you can refund Focus Points to respec your operatives. This flexibility encourages experimentation with different class synergies, allowing you to adapt to new enemy types as the campaign progresses.
However, when operatives inevitably take a plasma bolt to the chest, they suffer lingering injuries. In The Den, you can assign them to the Bacta Tank to instantly heal these wounds. The catch? The Bacta Tank requires rare medical resources or massive Credit expenditures to operate quickly. You are constantly forced to decide if a wounded operative is vital for the next drop, or if they should rest naturally while a green rookie takes their place on the transport.
The Hardest Call: Early Evacuation and Leaving Operatives Behind
Even with the best gear and a fully healed squad, some missions will simply unravel. Whether you fail to disable The Coil’s explosives during an intense prisoner exchange or get overwhelmed by reinforcements in the Storm Basin, Zero Company respects the danger of its setting.
When the objective is lost and your squad is pinned down, Hawks can authorize an Early Evacuate. Calling the dropship early saves the lives of those who can reach the extraction zone, but it forces you to make an agonizing decision: anyone who cannot make it to the landing pad is left behind. Captured or killed, these losses are permanent. It is a sobering mechanic that ensures every push for a flanking maneuver carries genuine risk, reinforcing the brutal realities of the era. For more on how the game handles the weight of command, read our feature on how-permadeath-works and brush up on survival strategies in our combat-tactics-guide.
The Den is more than just a menu; it is a test of your leadership. Manage your resources carefully, pay off the Hutts, and keep your squad breathing. The galaxy depends on it.